This is Photoshop's version of Lorem Ipsn gravida nibh vel velit auctor aliquet.Aenean sollicitudin, lorem quis bibendum auci elit consequat ipsutis sem nibh id elit. quis bibendum auci elit.

Instagram feed

+ 01145928421 SUPPORT@ELATED-THEMES.COM

Mike Says

Shelf Life

Mike says…

Step 1
Start by drilling the end caps: using a sharp pencil, mark the centre of the caps. Secure the cap in a vice and begin with a 3mm drill bit then change to the 6mm drill bit.

Step 2
Using a spirit level, mark the wall where the top two end caps will be and drill holes for the Rawlbolts. Secure the end caps to the wall with the Rawlbolts. Make two shelf supports by joining three stand pipes with two elbows in-between. Turn the top pipe of each support into an end cap.

Step 3
Mark the bottom two caps and drill and fix them with Rawlbolts as for the top end caps, but leave them a little bit loose as you will need a bit of leeway when you turn the end cap into the bottom pipe. Now install the shelves.

Mike says…

Step 1
Assemble the first frame with two of the 300mm pieces inside two of the 320mm pieces using glue and screws.
TIP Always use a pilot drill bit to avoid splitting the wood when inserting screws.

Step 2
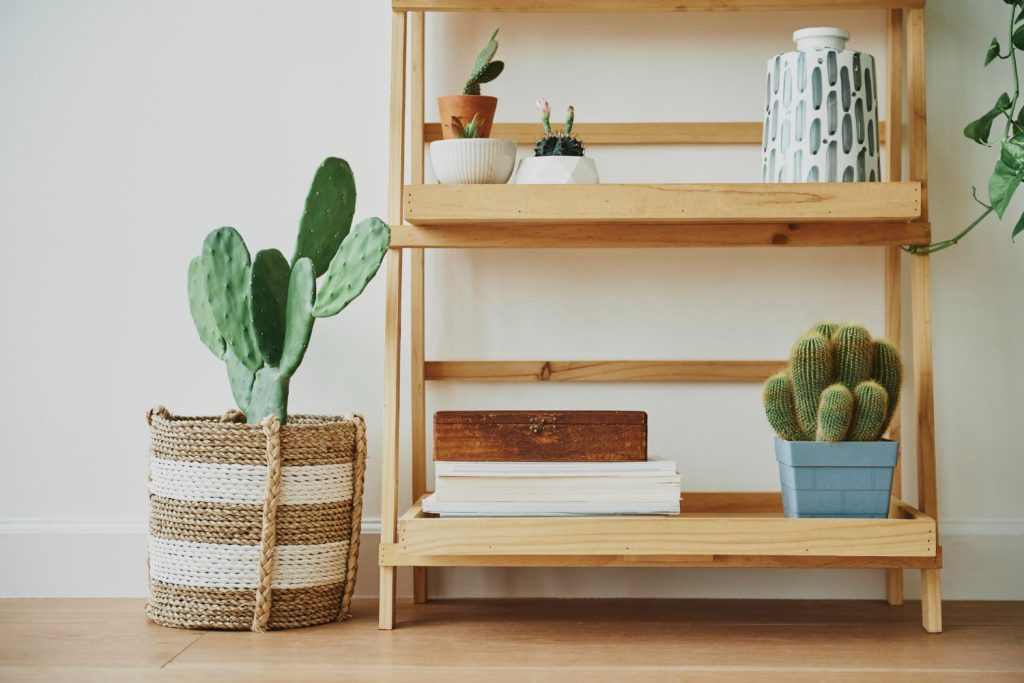
Fix another two 300mm pieces inside the first frame (40mm side flush with the frame), an equal distance apart, for your shelf and pot support. You will need to make two of these frames.

Step 3
Stand the two frames on their sides with the supports in a horizontal position (shelf support pieces both facing upwards) and glue and screw the 390mm pieces inside as the uprights.
NOTE We left a 10mm overlap at the bottom to make ‘legs’ which allow for air circulation.

Step 4
To make screwing easier, clad your shelf before you close the sides; place glue on the frame as well as in the grooves of the pine.

Step 5
Before you cut all the side cladding, check your measurements: the cladding must extend to the height of the pot you are using and at the base it must be flush with the 10mm ‘legs’; nail these parts on using the pin tacks.

Step 6
When constructing the door, make sure the two door supports are not going to interfere with any part of the frame before applying glue and screws.

Step 7
Screw the hinge to the side first.
TIP It’s a good idea to use a small pilot drill or nail to prevent the wood cracking.

Step 8
Lay the door in position and mark where the holes for the hinges should be. Then remove the door, pilot drill the holes and screw together.

Build your own planter box

Set a new benchmark

Mike says…

Step 1
Cut your mesh on the outside of the blocks using a grinder; you don’t need to use a tape measure, just count the squares. Be sure to use gloves and safety glasses, and sand all sharp edges using the flap disc.

Step 2
Start by attaching two of the sides using a short piece of wire twisted together with pliers; it will
now stand by itself. Attach the other two sides and the base but not the top.

Step 3
Now cut one square down and two squares back (this is where the timber will sit) off one side.

Step 4
Attach the 350 x 100mm piece and the 350 x 50mm piece in the space you’ve cut out. You can now attach the top, but only on one side as you still need to have access. Make two of these mesh cages.

Step 5
Lay your planks down with the steel flat bar on top to mark the position of the holes; make sure the gaps are even. Mark the centre of each plank then transfer that mark onto the steel, and drill the steel to 10mm.

Step 6
Drill the planks with a 10mm pilot drillbit first.

Step 7
After sanding and painting the planks, place them on the mesh frame in the recess you’ve cut out. Then push your bolts through the holes and place the steel flat under the mesh and secure with nuts and washers.

Step 8
Take the completed bench to its location and fill the mesh cages with rocks, then secure the tops in position with wire.

Mike says…

Step 1
Clamp an offcut of timber on your bench as a stop to keep your planks straight, then position six of the planks against the stop and screw and glue two of the 600 x 22 x 45mm planks flush with the edge; remember to drill pilot holes.

Step 2
Make the sides in the same way but only use one 600 x 22 x 45mm plank to hold it together and space it 2mm (the door thickness) away from the edge; place a piece of plank between the stop and the support to get the distance. Remember to make a left and a right side.

Step 3
Apply glue to the side and join it to the back. I made pocket holes with the Kreg Jig but you can crew from the outside and fill the holes. Repeat on the other side.

Step 4
Now attach a top and bottom support to the front (between the side struts); I used pocket holes, but you can drill from the outside and fix with a longer screw.

Step 5
Cut the door planks slightly shorter so it can open and close easily. Make the door the same as the sides but make sure the door supports are not going to touch any part of the box when it’s closed. Fix the door on using the hinges.

Step 6
The lid will be wider than all the other panels due to the thickness of the timber; you will have to make the lid panel with seven pieces and trim the two sides accordingly. Once again, check that your supports aren’t going to interfere with the inside of the box. I bent my hinges 90° in the vice to make assembly easier.

Step 7
Attach the handle.

Build your own compost box